Tuesday, March 31, 2020

Texas West Kitchen Sourdough Potato Bread and Starter


Many, Many years ago in a land far away,(San Angelo, Texas), I was a young mother with three young children and an active duty husband I loved to cook then as well, but had not perfected baking.  

My next door neighbor was a super sweet retired lady and she knocked on the door one day with this amazing loaf of potato bread, a small jar of goo, and a printed recipe. It is honestly still the best bread recipe I have ever made. 

I have shared it and the starter a million times, every time just the same way. A loaf of bread, 1 cup of starter, and a recipe.  If you do not have a starter available I will include the recipe to start your own. It is a very forgiving starter and the more you use it the less it tastes like sourdough. I use my starter in almost every bread recipe I make with the exception of dinner rolls ,(another blog post), cinnamon rolls, and donuts. 

Starter Ingredients and Feeding


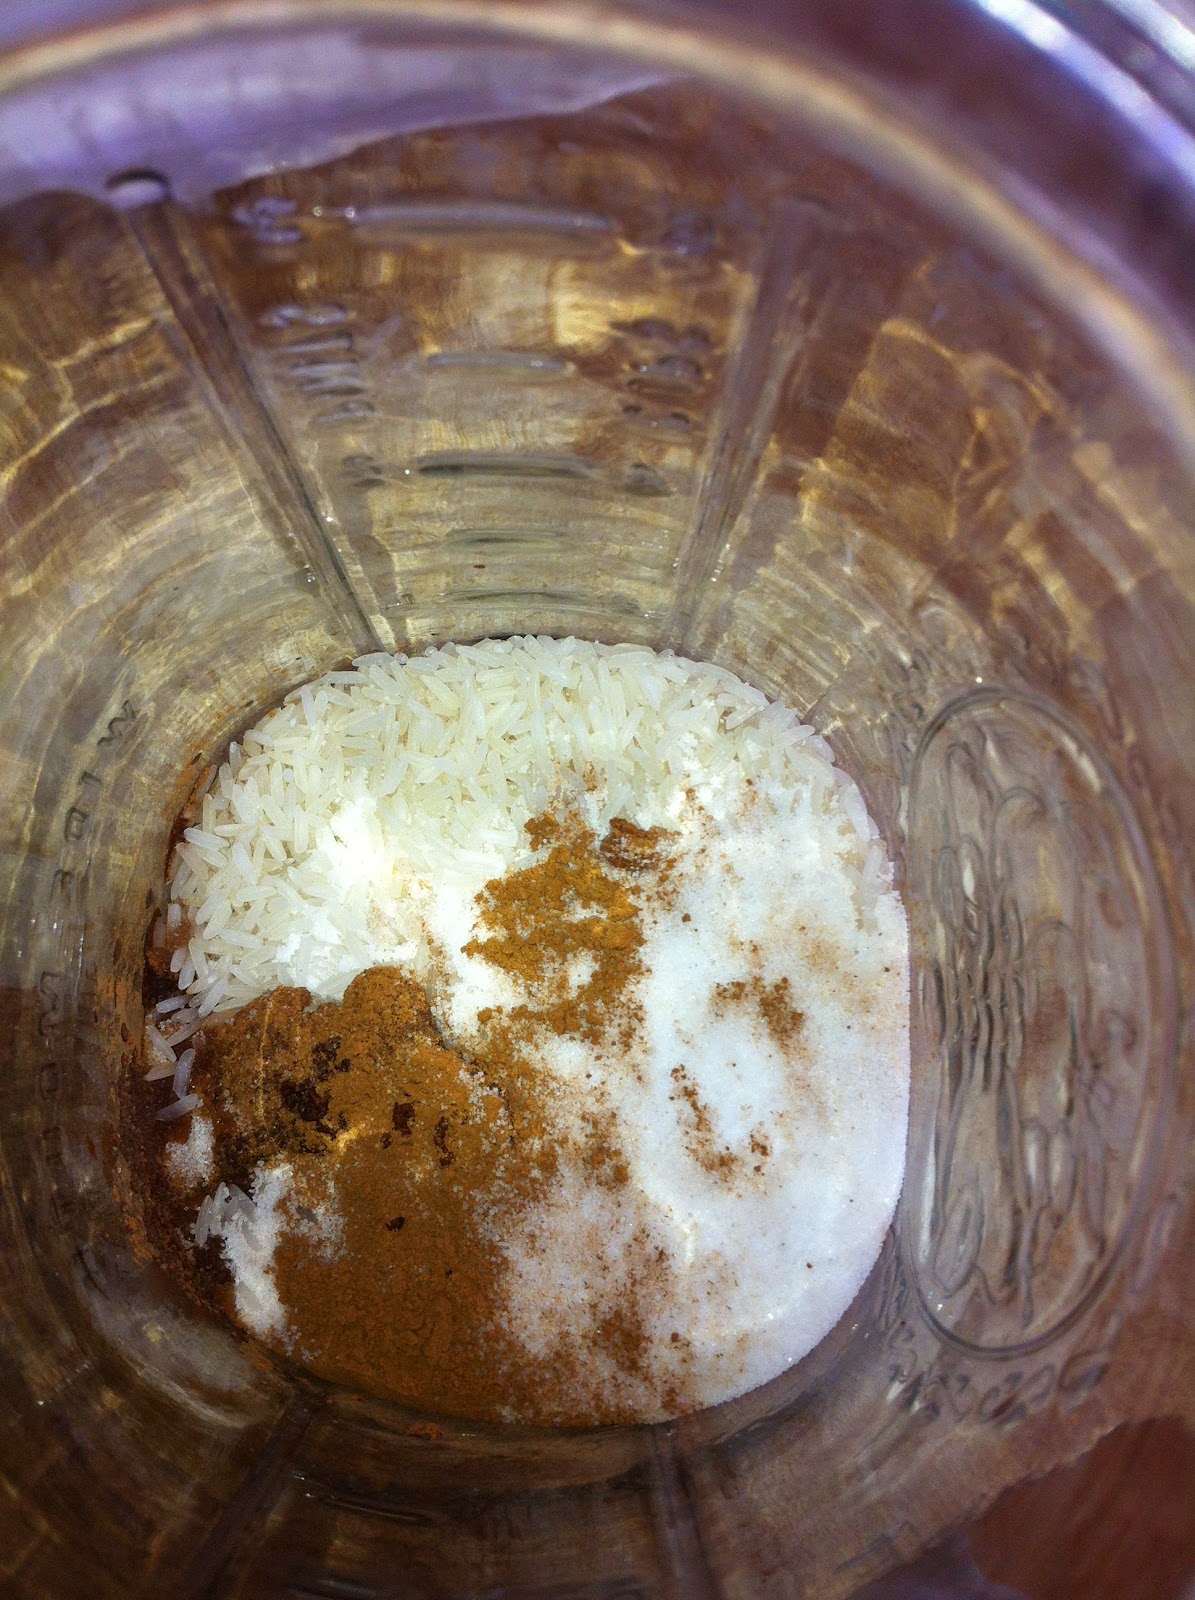
  • 3 Tablespoons Instant Mashed Potato Flakes (or one small boiled and peeled potato)
  • 3 Tablespoons white sugar
  • 1 cup warm water (not hot not tepid)
  • 2 1/4 teaspoons active dry yeast. 
You may do this without the use of store bought yeast, but you will need to leave it uncovered or loosely covered with a mesh cloth by a window or in the porch out of the sun to collect wild yeast. 


Add all to a glass jar (I use at least a quart jar) 
stir with wooden spoon, cover witch cheesecloth or lid with a few holes. 
Let sit for 5 days on the counter, stir with a wooden spoon once everyday

On the morning of the fifth day, feed the starter with 3 tablespoons instant potatoes, 3 tablespoons sugar, and 1 cup warm water. 
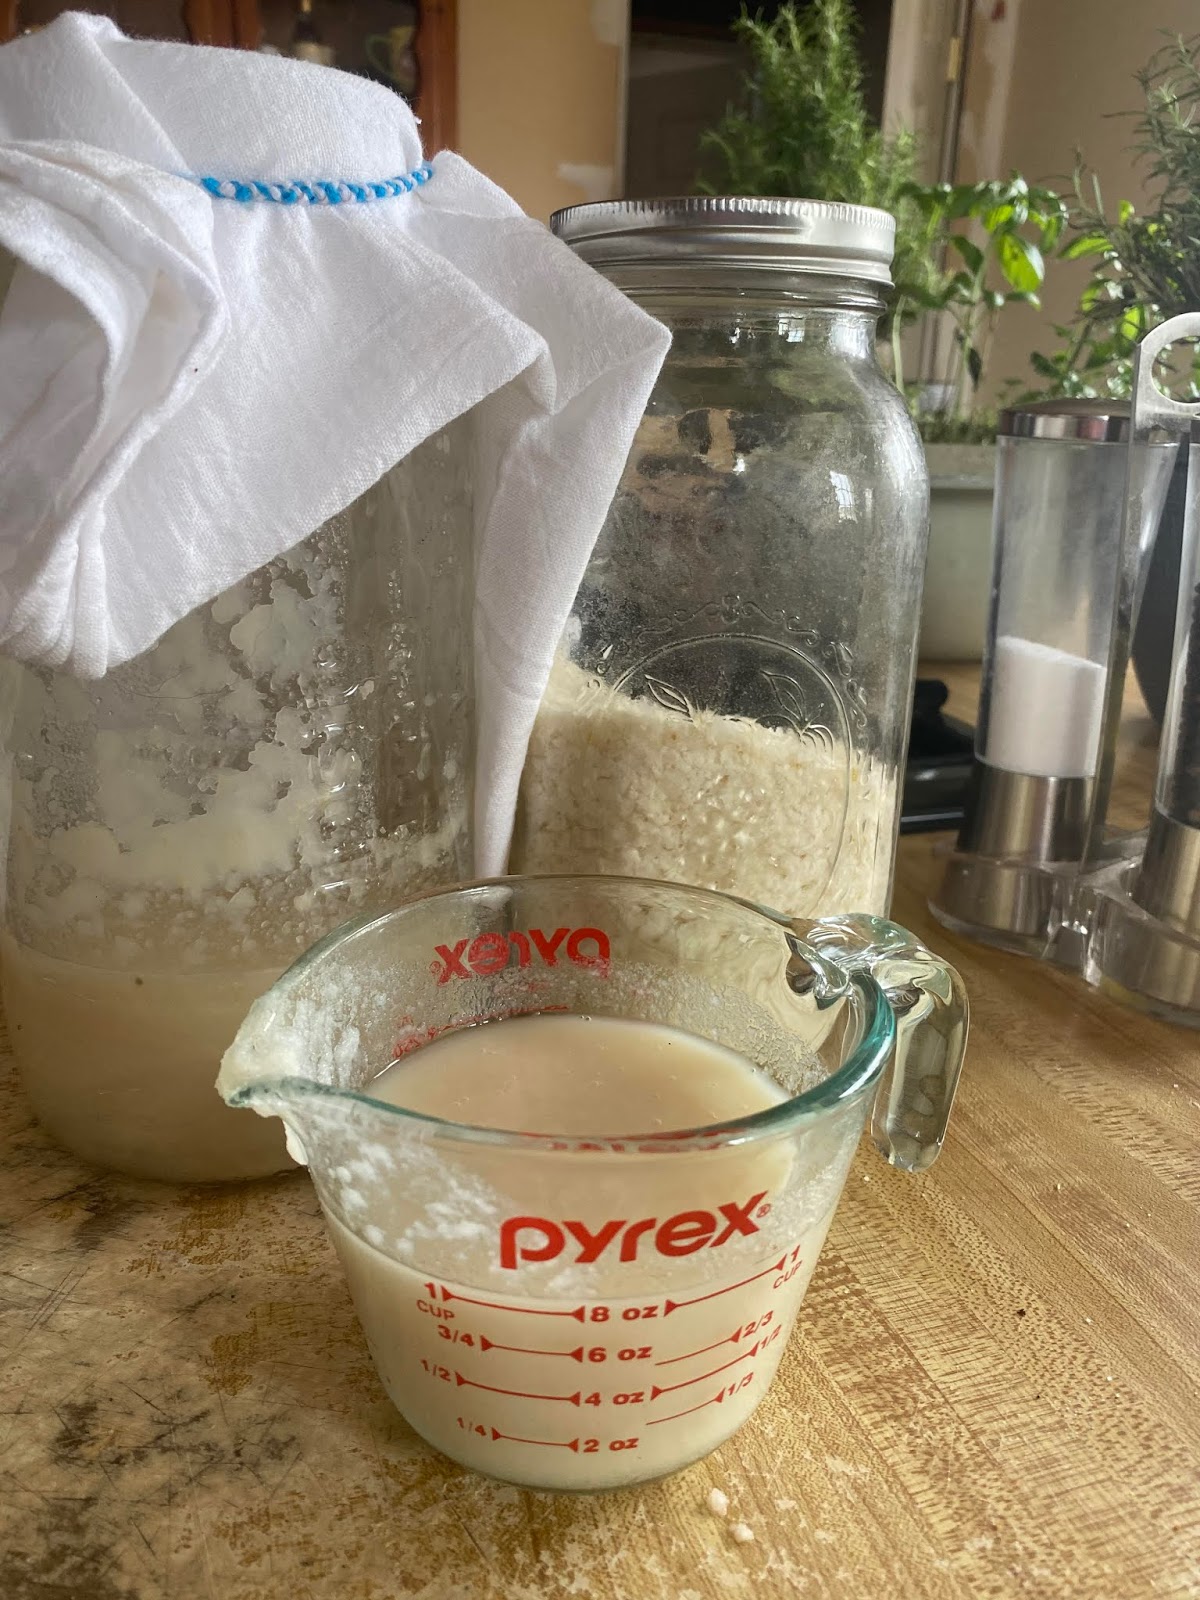
In the evening, take out 1 cup of the starter to use in a sourdough recipe. Refrigerate the remaining starter.

Every five days, feed the starter 3 tablespoons instant potatoes, 3 tablespoons sugar and 1 cup water.
 If starter is to be used in a recipe, let the fed starter rest at room temperature 6 hours before use.
 If starter is not being used in a recipe, keep refrigerated and discard 1 cup of starter after each feeding.


Making the Bread:

This is a process...but dont let it scare you! Really each step on takes a few minutes then you just wait. When I am making bread I start proofing the starter before I go to bed at night. 

I also let the dough rise in my oven. i live in a colder climate at high altitude, so this keeps the drafts away. Also occasionally I turn the oven light on to help with the rising.
 BUT WATCH IT!
 Don't let it sit too long as this dough is a high riser and will rise over the edge of your bowl if you are not careful. 

Also depending on where you live this may make 3-4 loaves. I tend to consistently get 3 out of this recipe 

Bread Ingredients

·         1 cup sourdough starter- left out at room temp and bubbly
·         1 1/2 cups warm water
·         2 cups bread flour
·         1 cup plain prepared mashed potatoes
·         3/4 cup warm water
·         2 teaspoons salt
·         1/3 cup oil or melted margarine or butter
·         1/3 cup sugar
·         6 1/2 to 7 cups bread flour 


         Combine the active starter with 1 1/2 cups water, 2 cups flour and the mashed potatoes.
 (I always use leftover mashed potatoes, butter, salt, pepper, and anything else that happened be in there.)
         Beat well, cover and let this "sponge" stay in a warm place until very light and bubbly.
       This will take several hours in warm surroundings or overnight in cooler surroundings.


         Then stir down the mixture and add the 3/4 cup warm water, salt, oil , sugar and half the remaining flour.
    Beat well by hand with a wooden mixing spoon.

 Gradually stir in enough of the remaining flour to make a medium firm dough.
 (I use my Kitchen Aid for the mixing and kneading, basically I add flour until it doesn't stick tot he sides anymore after mixing for 20 seconds or so, and I knead it for about 7 minutes) 
         Knead the dough well, only adding additional flour to prevent the dough from sticking.
Place the dough in an oiled bowl , cover, and let rise until doubled in a warm place 
(depending where you live and where you put the bowl this could take a few hours.In the oven with only the light on it takes about 5 in my altitude)
When doubled, lightly punch down the dough and divide it into three equal portions.(depending on how much flour you add and the size of your pans you might get 4)
·         Shape the dough and place into oiled bread pans. Cover and let the dough rise in the pans until doubled or well above the rim of the pans.
         Again, have patience as this will take hours. 
(With the oven light on only about 1.5- 2 hours)

         Then bake in a 375 F degree oven until golden and tested done about 45 minutes or more.
         When done carefully remove form the pans and let cool completely on a cooling rack.
         Bread freezes well.
        Bread has a creamy white moist interior and excellent taste and texture and is a high riser.


Saturday, May 26, 2012

Paleo (almost) Eggplant Parmesan


I absolutely love eggplant Parmesan and since I am really the only one in the house sticking to Paleo I figured I could make me some and no one else would want it. I was wrong.....the kids who "hate" eggplant love this stuff. It was fantastic!!! For the serious Paleo foodies out there I did add just a little High Quality Cheese to it. But only a little. I am OK with it every now and then since I am not eating dairy at all, but you cant have Eggplant Parmesan without Parmesan! 

 The Bolognese sauce is not just Paleo, you could make this for anything. And the breading can just be bread crumbs if you are not on the Paleo lifestyle. Either way it rocks. I did not take alot of pics throughout the process like I normally would because I didn't realize I would be posting this, But there are a few.  Here is how I did it.....

Bolognese Sauce

This takes some time, but don't shortcut it, each step is well worth it. Also there are many layers of seasoning in this. Don't worry it will not be too salty. But it is very important to season each layer.

Ingredients

  • 1 - 1 1/2 Lb ground grass-fed beef.
  • 2 tbsp butter, lard, tallow or duck fat;
  • 1/4 cup chopped bacon;
  • 1 large onion, finely grated
  • 3 cloves garlic, minced;
  • 3 carrots, finely grated
  • 2 celery sticks, diced;
  • 2 bay leaf;
  • 28 oz can crushed tomatoes with no additives
  • 6 chopped Roma tomatoes
  • 2 cups red wine
  • 1 1/2 cup fresh spinach
  • sea salt, pepper, Italian seasoning


In large deep pan with lid fry bacon, take out about half way done and chop. 
Add butter to bacon fat. Add bacon bits, grated onions, carrots, garlic and celery. Cook this on medium heat until well browned. Not just a little browned but to where there are browned bits in the bottom of the pan. Add sea salt and pepper during this process.

Add ground meat, sea salt, pepper, and some Italian seasoning and once again over brown.

Add wine and reduce by half

Add chopped tomatoes, canned tomatoes, salt, pepper, and Italian seasoning, simmer until fresh tomatoes are broken down well. About 30 minutes.

Stir well, add spinach, bay leaves, and 2 cups of water. Or just enough to cover. Season again. Cover and let simmer for at least 2 hours or until water is reduced and sauce is very thick and cooked together. 

This makes a very very rich and flavorful sauce. It is important to over brown each step, but not burn. 

Eggplant

  • 2 medium eggplants
  • salt
  • almond flour (or seasoned breadcrumbs if not Paleo)
  • garlic powder
  • salt
  • pepper
  • 2 eggs beaten well
  • Coconut oil or frying oil of choice if not Paleo


Eggplant is very bitter if you do not let some of the juices out before cooking it. Slice your eggplant and lay it all out on a cookie sheet. Heavily sprinkle with salt and let it sit for about an hour. Then put in a colander and rinse with cold water very well.  lay out on paper towels to dry for a few minutes. 

Heat oil in a pan until hot. Like fried chicken hot, too low of a temperature and the batter will fall off. 
Dip eggplant in a bit of flour, then the beaten eggs, then into flour or bread crumbs again and fry. About 2-3 minutes on each side. until done and crispy.
Almond flour does not stick as well as regular four or breadcrumbs so I just got some of the bits and added them to my Parmesan. 

Eggplant Parmesan


I used a medium but deep casserole dish because I thought this was going to be just for me. hahahaha was I wrong.

Put a bottom layer of eggplant, then cover with Bolognese sauce and sprinkle just a little cheese. I used about 1/4 of the amount I normally would. Then repeat ending with eggplant until you are out, layer like you would lasagna. 

Sprinkle with more almond flour or breadcrumbs. Bake for 30 - 40 minutes at 350 uncovered until bubbly and browned. Let the dish rest for at least 10 minutes before cutting and serving.

Yummy!


Sunday, April 22, 2012

Habanero Pepper Sauce


A few years ago on a cruise to Mexico we went to a beach party on Cozumel where fajitas were on the menu. Off to the side by the salsa, sour cream, green sauce, etc etc was this orange saucy stuff. I asked what it was and the server replied with, " No, you no eat. Caliente!!!" In other words, don't eat it because you are a white lady and it is too hot. Of course that was a challenge and I grabbed a spoonful and topped my beef fajita with it. CALIENTE! It was hot, it was fabulous, and my mouth was burning, however it didn't just taste like habaneros, it actually was very very good and had flavor. This sauce was all over Mexico. It was kind of like ketchup on American tables. I did not get the recipe there, but shortly came home and started researching and made some, my family loved it, our friends loved it and it has somewhat been a staple in my house ever since.

Habanero Peppers in Colorado are SUPER expensive. A pound at the Hispanic store is anywhere from $6.97 - $10.97 depending on the time of year. So when Randy called from Texas the other day and said habaneros were on sale- 3 pounds for $1.50 I politely asked for as many pounds as he was willing to send. I got 3!! And Pablanos, and Anaheims and Serranos etc etc. I am in pepper heaven all for under $10.00. And the first batch of Habanero sauce is now in jars :-)

I quadrupled this recipe and got 7 - 8oz jelly jars out of it.

Ingredients:
  • 12 habanero peppers, stems removed  (yes 12)
  • 1/2 cup chopped onion
  • 2 cloves garlic, minced
  • 1 tablespoon vegetable oil
  • 1/2 cup chopped carrots
  • 1/2 cup distilled vinegar
  • 1/4 cup lime juice
http://view.atdmt.com/UNY/view/209661700/direct/01/
Quantcast


Saute the onion and garlic in oil until soft; add the carrots with a small amount of water. Bring to a boil, reduce heat and simmer until carrots
are soft. 


Place the mixture and raw chiles into a blender and puree until smooth. 


Don't cook the peppers, since cooking reduces flavor of the Habaneros. Combine the puree with vinegar and lime juice, then simmer for 5 minutes and seal in sterilized bottles.

I water bathed these for 15 minutes.


Heat index : 9 on a scale of 1-10. A Little Dab will do ya - Trust me!


Chicken Teriyaki and Pineapple Meatballs


I keep hearing about these Chicken meatballs from Costco and thought it sounded like a great plan for a healthier dinner. The other day Tisha was saying they were having these and brown rice for dinner, it sounded right up my alley. Since I live 60 miles from Costco and have a Sam's membership anyway, I went and looked at the ingredients list and came up with my own version...minus the junk in the others. In my continuing efforts of " Lifestyle Change" I am starting to replace a lot of beef and pork with chicken and turkey. Now don't get me wrong, I still love me some red meat, but I am cutting back where I can.

I am really tired of the whole "Lifestyle Change" phrase, but that is exactly what it is. It is not a diet, it is not starving, it is not never eating the foods I love. It is simply doing the best I can with what I can live with and still eating yummy food. After all, I didn't get fat because of my dislike of yummy food.

Ingredients:

2 lb ground chicken (I used chicken breast)
1/2 cup crushed pineapple (well drained)
1 tsp white sugar
1 TB soy sauce ( I use Hawaiian Soy because the sodium is far less )
1/2 tsp. ground oriental hot mustard (you can omit this, I just love it)
  1 1/2 tsp garlic powder
1 tsp miso powder
1 tsp ground ginger
salt to your preference if desired (I omitted)
1 bottle Teriyaki Sauce. (I used La Choy Marinade and Sauce because it was the lowest calories and sodium)

Mix all ingredients will into ground chicken except sauce. 


Ground chicken is much more mushy than beef, turkey is the same way. So I seared the meatballs in a very hot skillet for just a few minutes.


Then put them into a mini muffin pan to bake in a 350 oven for about 20 minutes until done. I used a small scoop to get the portion size I wanted. And you see the gloves back there because I have a horrible aversion to touch ground meat with my hands. It is yucky.


While these were baking I sauteed up a few onions, bell peppers and coleslaw mix in a bit of olive oil. Sprinkled with a little Thai Chile Pepper then shoved to the side. I got my wok very hot, added more Thai Chile and threw in some pineapple tidbits and cooked them fast just to get some sear on them. 


After pulling the meatballs out of the oven I simply threw them back into the skillet, poured the jar of sauce over them, and heated for a few minutes. This served all 5 of us 4 meatballs each at 190 calories per serving (not including veggies and brown rice) and made 3 lunches for the boys and Rob. And was quite yummy!


Monday, April 16, 2012

Buffalo Chicken Burgers with Pablano Lime Corn


First of all let me just say that I am a Texas Girl. I am a mountain girl. I am a Texas mountain girl. And I LOVE beef! We raise our own beef (Longhorns because the meat is incredible) but I am also a Texas Mountain Girl trying to lose weight.

During this weight loss endeavor I have truly made a lifestyle change. I have not dieted, but have just changed the way I cook, and the things I eat. I have learned that you can have the items you love, just in moderation and make them healthy as possible. Annnnnnnnnd enters the chicken burger. 

I was skeptical, I will say that first. But WOW was it good. This will be a new staple at my dinner table.

Ingredients:.
1/4 cup light sour cream (Fat free)
1/4 cup reduced fat blue cheese (I don't add this) I use fat free
blue cheese dressing. 
 1Tblsp Blue Cheese crumbles (I didn't use this either)
1/4 teaspoon Worcestershire sauce

1 1/2 pounds ground chicken
1/4 cup hot pepper sauce
1/2 teaspoon celery salt (optional)

1/4 teaspoon poultry seasoning
1/2 teaspoon paprika
1 pinch cayenne pepper, or to taste
1 tablespoon hot pepper sauce

4 Kaiser rolls, split (Low Cal- Low Fat burger buns, I used Sara Lee 80 calorie whole wheat))
4 leaves green lettuce
1/2 cup diced celery

Directions:
1.      Preheat an outdoor grill for medium-high heat, and lightly oil the
grate. Stir the sour cream, blue cheese, and Worcestershire sauce
together in a small bowl; set aside.

2.      Mix the ground chicken, 1/4 cup hot sauce, celery salt, poultry
seasoning, paprika, and cayenne pepper together in a mixing bowl until
evenly blended. Form into four 3/4-inch-thick patties.


3.      Cook the chicken burgers on the preheated grill 6 to 7 minutes
until well marked. Make sure grill is very hot or they will stick. Spray the uncooked top of the burger with cooking spray, and flip the burgers over. Brush the cooked side with 1
tablespoon hot sauce, and continue cooking until no longer pink in the
center and the juices run clear, about 5 minutes more. An instant-read
thermometer inserted into the center should read at least 165 degrees
F (74 degrees C).


4.      To assemble the burgers, place a lettuce leaf on each roll bottom.
Top with a burger patty, then spoon on 2 tablespoons of blue cheese
sauce, and 2 tablespoons celery. Place the top of the roll on top to
finish the sandwich.

Pablano Lime Corn

I roasted a Pablano Pepper Stove Top until it was tender inside and charred outside.


Then added 1/2 stick of softened unsalted butter and the juice and pulp of one lime


Got out the Handy Dandy immersion blender and immersed. 


Covered fresh Corn on the Cob


Grill the corn on medium low heat for about 20 minutes turning a few times. Then unwrap and finish grilling for about another 15 minutes. Sprinkle with a little salt and Viola...yummy corn. 

With this meal I also grilled Sweet Potatoes. Because I love them  and they are so much lower in calories and carbs than a regular potato. My general grilled sweet potato is tossed in light maple syrup, cayenne pepper, garlic powder and white pepper. 


Sunday, April 15, 2012

Simply Yummy Grilled Chicken Recipe

This is by far one of the best chicken recipes I have ever had in my life. It ranks right up there with Tisha's Teriyaki Chicken which is amazing. I found this on Pioneer Woman's blog and made it last week, I doubled the batch and it was Gone quick in this house with everyone asking for more. 


Ingredients

6 whole Boneless, Skinless Chicken Breasts

MARINADE:
1/2 cup Balsamic Vinegar
1 cup Olive Oil
3 Tablespoons Brown Sugar
2 Tablespoons Steak Seasoning (I Used A1)
Sauce:
1 cup Honey
8 pieces Thick Cut Bacon, Diced
3 Tablespoons Worcestershire Sauce
1 Tablespoon Hot Sauce


Preparation Instructions

Slice the chicken breasts into thick strips diagonally. Combine marinade ingredients in a plastic zipper bag. Throw in chicken, seal bag, and marinate in fridge for at least 3 hours.


Make the sauce: Fry the diced bacon in a heavy skillet until slightly crisp. Remove bacon and drain on paper towels. Pour off and discard grease but do not clean skillet. Set the skillet over medium-low heat and add honey, Worcestershire, and hot sauce. Stir to combine and allow to bubble slightly. Stir in bacon, then remove from heat and set aside.


Remove chicken from marinade and discard marinade. Grill chicken on both sides until completely done.

Place into a big heatproof bowl, then pour the sauce over the chicken. Toss to coat.


Sunday Kolaches and Horchata


Being a homegrown Texas girl, I love kolaches. Not only can you not find a decent donut place here in Colorado, but kolaches are about unheard of. Now I know that I am going to get flack about this statement. People from here will say, "But what about the Donut Mill, or Krispy Kreme, or Dunkin Donuts... Yes they are all yummy, but there isn't much better than a yeast raised deep fried and glazed donut. Or cinnamon roll, mmmmmm....I want a fried yummy, gooey, cinnamon roll, not baked, not sprouted...but fried, in lard.  But for now.....back to kolaches. 


I still owe Clinton kolaches for taking me hiking in the Grand Canyon and he just came into town last night so I guess I better get busy.   

 I resorted again to my Homesick Texan cook book. Lisa's recipe is about the closest I have found to the sweet, fluffy kolaches back home. Of course with a few changes noted.

From The Homesick Texan Cookbook 

Kolaches (adapted from recipes found in Texas Monthly and the Houston Chronicle)
Ingredients:
1 package of active dry yeast (I use rapid rise)
1 cup of warm milk
1/4 cup sugar
3 cups of all-purpose flour
2 eggs
3/4 cup of melted butter
1 teaspoon of salt

Method:
In a large bowl, combine yeast, warm milk, sugar and one cup of flour. Cover and let it rise until doubled in size.
Beat together eggs, 1/2 cup of melted butter (reserve 1/4 cup for brushing on the pastry) and salt.
Add egg mixture to yeast mixture and blend. (I add about 1 Tblsp of honey at this time)

Stir in about two more cups of flour, 1/2 cup at a time. The dough should be soft and moist.
Knead dough for about 10 minutes on floured surface. Don't worry, it’s a joy to knead as the dough is smooth and highly malleable.
Put dough in a greased bowl and let rise covered until doubled in size—about an hour.
After dough has risen, punch it down and pull off egg-sized pieces. In your hands, roll pieces into balls and then flatten to about three inches in diameter. Brush with melted butter.
Place flattened pieces on a greased cookie sheet, cover and let rise again for another half-hour.
After second rising, with your finger gently make an indention in the center of the dough (be careful not to flatten it too much) and fill with one tablespoon of fruit filling (recipe to follow) and sprinkle with posypka (recipe to follow).
Bake in oven at 375 degrees for 12 to 15 minutes. Brush with melted butter when you take them out of the oven and serve warm.

Kolache filling
Ingredients:
1/2 pound of dried fruit such as apricots or prunes.
Sugar to taste
1/4 teaspoon of cinnamon
Lemon zest

I use homemade jelly or jam for this step. Preferably Wina's apricot jam she sends me from Texas...yummy


 About 1 minute after these came out of the oven Clinton called to claim his pay off for the Grand Canyon. He is on the way to get them while they are still warm. Kolaches never last long around here.


 Dear Wina - I am out of Apricot Jam :-(


Method:
Soak the dried fruit in water for a few hours or overnight.
When fruit is re-hydrated, cook on low for 15 minutes, adding sugar to taste (I find the fruit sweet enough so I don’t add sugar, but you may prefer it sweeter), cinnamon and lemon zest. Mash with a potato masher until you have a puree.

Posypka
Ingredients:
1/2 cup all-purpose flour
1/2 cup sugar
1 tablespoon butter
1/8 teaspoon cinnamon

Method:
Mix all ingredients until crumbly.

This recipe makes about 18 kolaches, depending on how large you make them. And the variations are endless. For additional flavor you can soak the dried fruit in tea such as Earl Grey or you could sprinkle goat cheese on the apricot kolaches before baking. You can also make sausage and jalapeno kolaches by wrapping the three-inch flattened piece of dough around a two-inch piece of sausage and a couple of pickled jalapeno slices.  
When they come out of the oven I brush them with Cowboy Candy juice as well for the sausage kolaches. 


Horchata

Horchata is something that I found a million posts about that people from Texas and Mexico just love love love this. It is even on the Homesick Texan blog, however I had never had it nor heard of it...until yesterday. And let me tell you I am so addicted. This stuff is OMG good. 

What is Horchata?
 Basically it is a rice milk that is infused with cinnamon, honey/sugar, and vanilla. I added a few coffee beans into mine just because I wanted too.  It sits in the fridge overnight, then it goes straight to the food processor and strained, put it over ice and you have the creamiest, yummiest, Mexican type drink I have ever had in my life! And, it is gluten free, dairy free, and vegan. Bonus!

¾ cup rice (I usually use long grain white or brown basmati)
4 cups hot water
1 or 2 cinnamon sticks
½ cup sugar or mild honey
1 tsp. vanilla extract
2 cups water, milk, or coconut milk (I will add Almond Milk to mine)

Pour the rice in a blender and pulse until it resembles a coarse crumb. Add the 4 cups water and the cinnamon stick(s), and let sit in the refrigerator overnight in half gallon Ball Jar. I added extra of everything to fill the jar. Just because I wanted a full jar.
 Blend the mixture (cinnamon sticks included) for 2-3 minutes until completely pureed. Add the sugar and the vanilla extract, and blend again until completely combined. Check for sweetness.

Strain the mixture with a cheesecloth or fine mesh sieve into a pitcher. Add the two cups water, milk, or coconut - depending on your preference - and stir. Pour in glasses over ice as-is, or add a splash of brandy. Garnish with cinnamon. 

 I will post photos of the finished Horchata tomorrow when it is done.